

There’s something magical about dessert bars — they’re simple to make, easy to share, and perfect for every kind of celebration. Whether you’re baking for a birthday party, holiday gathering, or a cozy weekend treat, dessert bars always deliver that sweet “wow” factor without the stress of complicated recipes.
Why Dessert Bars Are the Perfect Party Treat
Dessert bars are a baker’s best friend. They strike the perfect balance between cookies and cake — chewy, buttery, and bursting with flavor. Plus, they’re:
- Quick to bake: No need for individual scooping or frosting.
- Easy to customize: Add nuts, chocolate chips, fruit, or drizzle with icing.
- Portable and shareable: Great for potlucks, birthdays, or festive dessert tables.
Once you master the base recipe, the flavor possibilities are endless — from gooey chocolate chip blondies to tangy lemon bars.
Step 1: Gather Your Essential Ingredients
Before diving in, make sure you have the essentials on hand. These are pantry-friendly ingredients you probably already have.
Basic Dessert Bar Ingredients:
- 1 cup melted unsalted butter
- 1 ½ cups brown sugar (packed)
- 2 large eggs
- 2 teaspoons vanilla extract
- 2 cups all-purpose flour
- ½ teaspoon baking powder
- A pinch of salt
Optional add-ins:
- Chocolate chips, white chocolate chunks, or butterscotch morsels
- Chopped nuts (walnuts, almonds, pecans)
- Dried fruits or shredded coconut

Step 2: Mix and Match Flavors
Here’s where the fun begins! Dessert bars are all about creativity. Start with your base and customize it for any theme or season.
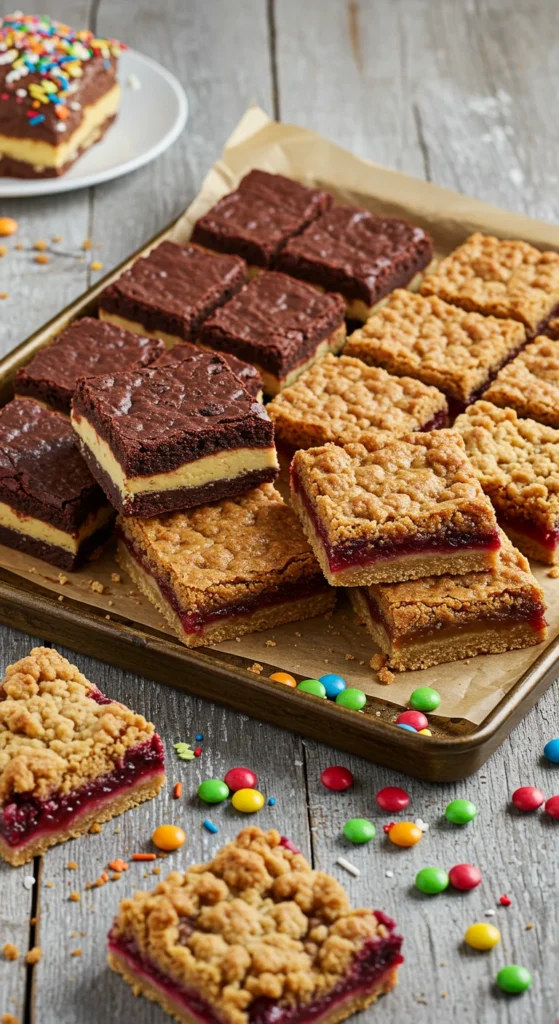
Flavor Inspiration:
- Chocolate Lovers’ Dream: Add cocoa powder and chocolate chunks for a fudgy twist.
- Citrus Sunshine Bars: Mix in lemon zest and drizzle with a simple lemon glaze.
- Peanut Butter Swirl: Drop spoonfuls of peanut butter into the batter and swirl before baking.
- Berry Crumble Bars: Layer jam and a crumble topping for a fruity, buttery treat.
Pro tip: Keep the ratio of wet to dry ingredients consistent. If you add extra mix-ins, slightly reduce flour to keep bars soft and moist.

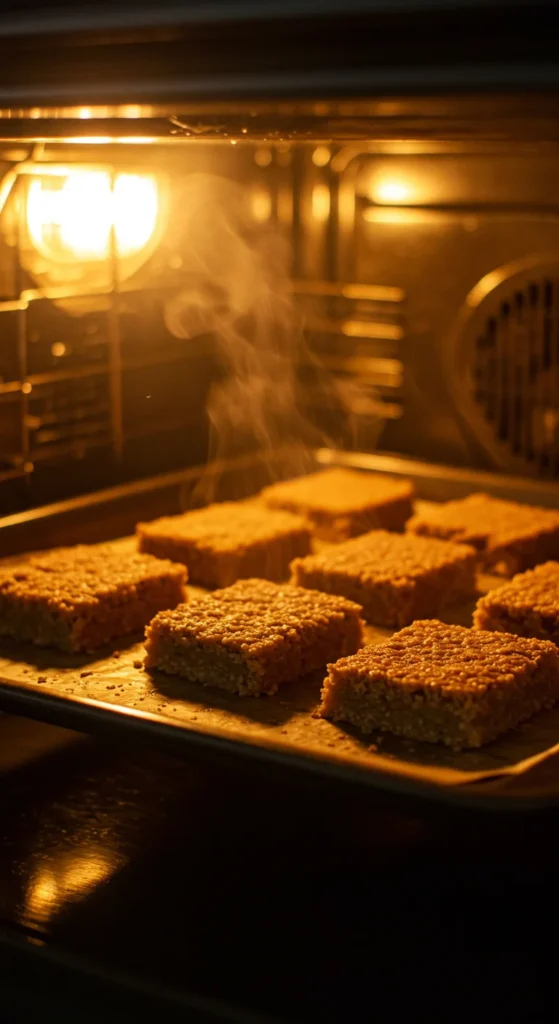
Step 3: Bake to Golden Perfection
Now, let’s bring your dessert bars to life.
Instructions:
- Preheat your oven to 350°F (175°C).
- Line an 8×8-inch or 9×9-inch baking pan with parchment paper, leaving some overhang for easy lifting.
- In a large bowl, whisk melted butter and brown sugar until smooth.
- Add eggs and vanilla, mixing until well combined.
- Stir in flour, baking powder, and salt.
- Fold in your favorite add-ins.
- Spread the batter evenly in the pan.
- Bake for 25–30 minutes until the edges are golden and the center is set (a toothpick should come out clean).
Let the bars cool completely before cutting — this helps them hold their shape and makes for cleaner slices.
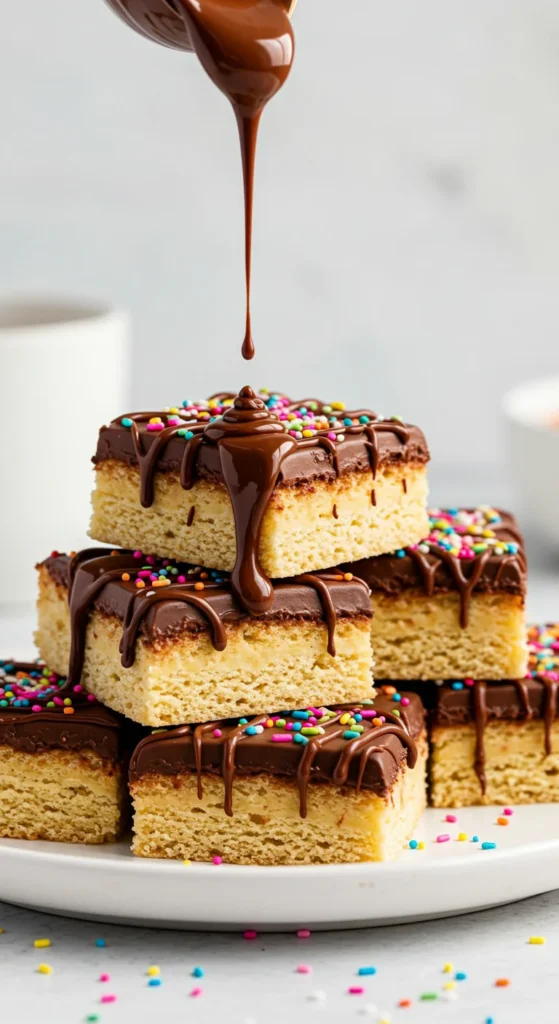
Step 4: Decorate and Serve with Style
Once your bars are cooled, it’s time to make them look irresistible. A little topping or drizzle can transform simple bars into party showstoppers.
Ideas for Decoration:
- Chocolate Drizzle: Melt chocolate chips and zigzag over the top.
- Powdered Sugar Dusting: For fruit or lemon bars, use a fine mesh sieve for a delicate dusting.
- Frosting Fun: Spread a thin layer of vanilla or cream cheese frosting and top with sprinkles.
- Layered Look: Stack them on a pretty plate or tiered tray for a Pinterest-worthy display.
Step 5: Store and Share
The best part? Dessert bars store beautifully, making them perfect for gifting or prepping ahead.
Storage Tips:
- Keep in an airtight container at room temperature for up to 4 days.
- Refrigerate for longer freshness — especially for fruit-based or frosted bars.
- Freeze in layers separated by parchment paper for up to 2 months.
These bars taste even better the next day, as the flavors blend and deepen overnight.

Celebration-Worthy Variations
Want to match your dessert bars to your event? Try these quick ideas:
- Birthday Bash: Sprinkle confetti or mini candies into the batter.
- Holiday Cheer: Add crushed candy canes or festive red-and-green M&Ms.
- Spring Picnic: Go for lemon-blueberry or strawberry jam bars.
- Fall Gatherings: Add cinnamon, nutmeg, and white chocolate for a cozy flavor.
Sweet Takeaway
Dessert bars are proof that simple can be spectacular. With one basic recipe, you can create endless variations — all equally delicious and celebration-ready. Whether you’re baking for friends, family, or just yourself, these bars are guaranteed to disappear fast.
So grab your mixing bowl, turn on the oven, and get creative — your next party dessert is just one batch away.
Save this recipe for later — your guests will thank you!
Leave a Reply